Installing a T-hinge on a wood gate is a fundamental task that can significantly enhance the functionality and durability of your gate. As a trusted supplier of Wood Gate Hinges, I am here to guide you through the process step by step, ensuring that you can complete this installation with confidence.
Understanding T-Hinges
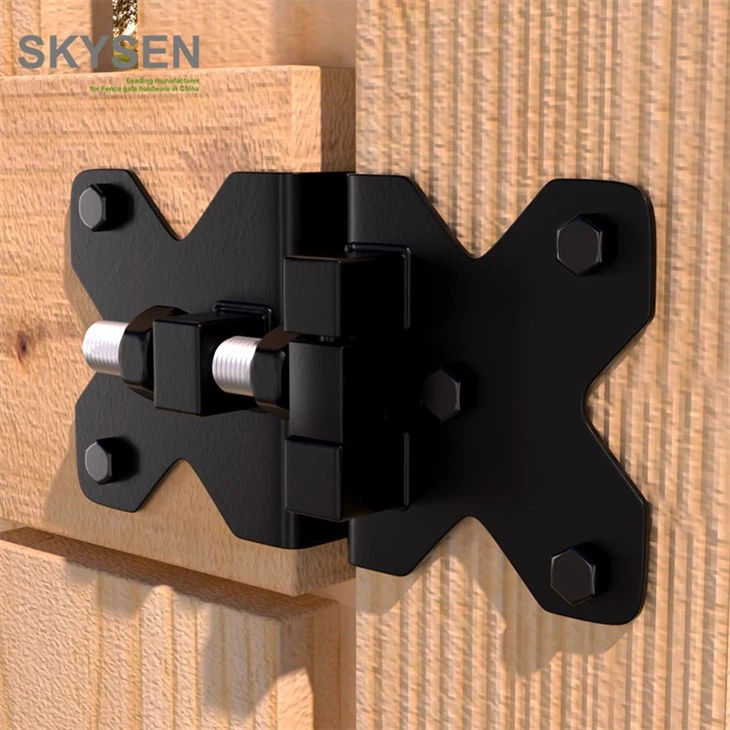
Before we delve into the installation process, it's essential to understand what T-hinges are and why they are a popular choice for wood gates. T-hinges are named for their distinctive T-shape, with one long arm and a shorter perpendicular arm. They are typically made of metal, such as steel or brass, and are designed to provide strong support and smooth operation for gates.
T-hinges are versatile and can be used on a variety of wood gates, including garden gates, shed gates, and field gates. They are particularly well-suited for heavy-duty applications, as they can withstand the weight and stress of large or frequently used gates.
Tools and Materials You'll Need
To install a T-hinge on a wood gate, you'll need the following tools and materials:

- T-hinges: Choose hinges that are appropriate for the size and weight of your gate. For heavy gates, consider Heavy Duty Wood Gate Hinges.
- Screwdriver or drill: A screwdriver is suitable for manual installation, while a drill can make the process faster and easier.
- Measuring tape: To ensure accurate placement of the hinges.
- Pencil: To mark the position of the hinge holes.
- Hammer: Optional, for tapping the hinges into place if necessary.
- Wood screws: Make sure the screws are long enough to penetrate both the hinge and the wood securely.
Step-by-Step Installation Guide
Step 1: Prepare the Gate and Post
- Clean the surfaces: Remove any dirt, debris, or paint from the areas where the hinges will be installed on the gate and the post. This will ensure a good bond between the hinge and the wood.
- Measure and mark: Use a measuring tape to determine the correct placement of the hinges. For most gates, it's recommended to install two hinges, one near the top and one near the bottom of the gate. Mark the position of the hinge holes on both the gate and the post using a pencil.
Step 2: Attach the Hinge to the Gate
- Align the hinge: Place the T-hinge on the gate, aligning the holes with the marks you made earlier. Make sure the hinge is level and straight.
- Insert the screws: Using a screwdriver or drill, insert the wood screws through the holes in the hinge and into the gate. Tighten the screws securely, but be careful not to overtighten them, as this could damage the wood.
Step 3: Attach the Hinge to the Post
- Position the gate: Lift the gate into place and align the hinge on the gate with the corresponding hinge on the post. Make sure the gate is level and hangs evenly.
- Mark the post: Use a pencil to mark the position of the hinge holes on the post through the holes in the hinge.
- Drill pilot holes: Using a drill bit that is slightly smaller than the diameter of the wood screws, drill pilot holes into the post at the marked locations. This will prevent the wood from splitting when you insert the screws.
- Attach the hinge: Place the T-hinge on the post, aligning the holes with the pilot holes. Insert the wood screws through the holes in the hinge and into the post, and tighten them securely.
Step 4: Test the Gate
- Open and close the gate: Once the hinges are installed, test the gate by opening and closing it several times. Make sure the gate swings smoothly and without any binding or resistance.
- Adjust the hinges if necessary: If the gate doesn't swing smoothly or hangs unevenly, you may need to adjust the hinges. Loosen the screws slightly and reposition the hinge until the gate operates correctly. Then, tighten the screws again.
Tips for a Successful Installation
- Choose the right hinges: As mentioned earlier, it's important to choose hinges that are appropriate for the size and weight of your gate. For heavy gates, Best Hinges for Heavy Wood Gate are recommended.
- Use the correct screws: Make sure the wood screws you use are long enough to penetrate both the hinge and the wood securely. Using screws that are too short can result in a weak installation.
- Install the hinges correctly: Follow the installation instructions carefully to ensure that the hinges are installed correctly. Incorrect installation can lead to problems with the gate's operation and durability.
- Maintain the hinges: Regularly inspect the hinges for signs of wear or damage, and lubricate them as needed to keep them operating smoothly.
Conclusion
Installing a T-hinge on a wood gate is a relatively simple process that can be completed by most DIYers with basic tools and skills. By following the steps outlined in this guide and using the right tools and materials, you can ensure a successful installation and enjoy a functional and durable gate for years to come.
If you have any questions or need further assistance with your wood gate hinge installation, or if you're interested in purchasing high-quality Wooden Field Gate Fittings or other wood gate hardware, please don't hesitate to contact us. We're here to help you find the perfect solutions for your gate project.
References
- General woodworking and hardware installation guides from reputable sources.
- Manufacturer's instructions for T-hinges and related hardware.